
How to Flush a Water Heater: A Step-by-Step Guide to Help Extend Its Life
Flushing sediment out of a tank water heater is one of the few maintenance tasks that measurably affects how long the tank lasts. Here is the order of operations, the reason behind each step, and the point where you should stop and call a professional.
To flush a tank water heater: shut off power or gas, let the water cool, connect a garden hose to the drain valve, open a nearby hot water faucet, drain the tank, then flush with cold water until it runs clear. Close the valve, refill the tank completely, restore power or gas, and check for leaks.
Most homeowners should do this once a year. It takes 30 to 60 minutes and is the single maintenance task most likely to add years to a tank's life.
Why flushing matters
Every gallon of water that enters your heater carries dissolved minerals. When the water is heated, some of those minerals fall out of solution and settle on the bottom of the tank as sediment.
That layer causes three quiet problems. It insulates the burner or lower element from the water, so the heater runs longer for the same amount of hot water. It creates hot spots that stress the steel and the glass lining. And it holds moisture against the tank bottom, which is where most tanks eventually fail.
Flushing removes that layer. Nothing about it is dramatic, which is exactly why it gets skipped — and why a tank that could have lasted 12 to 15 years often fails at 8 or 9.
- Recover hot water capacity you lost gradually and never noticed.
- Reduce the rumbling and popping sound many homeowners assume is normal.
- Lower run time, which shows up on the utility bill.
- Give yourself a yearly look at the tank, valves, and floor around it.
How often should you flush it?
Water chemistry drives the interval more than the age of the heater does. Use these as starting points, then adjust based on what comes out of the hose.
- Every 12 months — typical municipal water, tank in normal service. This is the default recommendation.
- Every 6 months — hard water, well water, or a visible mineral buildup on fixtures and shower heads.
- Every 12 to 18 months — softened or naturally soft water with a newer tank and clear discharge last time.
- Tankless units — descale roughly every 12 months, or on the interval in your manufacturer's manual. Tankless units are not drained; they are flushed with a descaling solution.
If the water runs clear within a minute or two, you can stretch the interval. If it runs sandy for several minutes, shorten it.
Not sure this is what's happening in your home?
Homeowners often arrive with one symptom and find the cause somewhere else entirely. Start from what you're actually noticing and Sentinel will point you to the right guide.
Educational guidance only — nothing to buy at this step.
Tools you will need
Nothing here is specialized. Most homeowners already own two-thirds of the list.
- A garden hose long enough to reach a floor drain, utility sink, or outside.
- A flathead screwdriver or a small pair of pliers to open the drain valve.
- A bucket, in case you need to catch water or check the discharge.
- Work gloves — the water leaving the tank can still be hot.
- A flashlight, to inspect the base of the tank and the floor around it.
- Optional: a flush wand or kit, which helps when sediment is packed and slow to move.
- Optional: a shop vacuum, useful if the drain valve clogs and you need to clear it.
Find your cold water shutoff — the valve on the pipe entering the top of the heater — and confirm it turns. Also locate the main water shutoff for the house. You are unlikely to need either, but knowing where they are turns a surprise into an inconvenience.
Step-by-step: flushing a tank water heater
- 1
Turn off power or gas
For an electric heater, switch off the dedicated breaker. For a gas heater, set the control to "pilot" or "vacation." This matters because the heater must not try to heat while the water level is dropping — an energized element in an empty tank fails almost instantly.
- 2
Shut off the cold water supply
Close the valve on the cold inlet at the top of the tank. This stops new water from entering while you drain, so the tank actually empties instead of endlessly refilling.
- 3
Let the water cool
Give it at least 30 minutes, and longer on a large tank. Stored water can leave the tank hot enough to scald. Waiting is the difference between a routine task and an injury.
- 4
Attach a garden hose to the drain valve
Thread the hose onto the drain valve near the bottom of the tank and run the other end to a floor drain, utility sink, or outside. Keep the run downhill where you can — gravity does the work, and a hose lying flat drains slowly.
- 5
Open a nearby hot water faucet
Open a hot tap on the same floor and leave it open. This breaks the vacuum in the system so the tank can drain smoothly, and it prevents air from locking up the lines when you refill.
- 6
Open the drain valve and drain the tank
Open the valve slowly. Expect discolored, sandy water at first — that is the sediment you came for. If flow is weak or stops, the valve is likely partly blocked; briefly opening the cold supply can push the obstruction through.
- 7
Flush until the water runs clear
With the drain still open, open the cold water supply and let it run through the tank. The incoming water stirs and carries out what settled. Continue until the discharge is clear — usually a few minutes, longer on a neglected tank.
- 8
Close the drain valve and remove the hose
Shut the drain valve firmly, then remove the hose and watch the valve for drips. Older plastic valves sometimes fail to reseal after being opened; catching that now is far better than finding it later.
- 9
Refill the tank completely
Open the cold water supply fully and leave that hot faucet open. When water runs steady and smooth with no sputtering air, the tank is full. Do not rush this step.
- 10
Restore power or gas
Only once the tank is full: switch the breaker back on, or return the gas control to its normal setting and confirm the burner lights. Allow 30 to 60 minutes for the water to come back up to temperature.
- 11
Check for leaks
Inspect the drain valve, the cold and hot connections, the temperature and pressure relief valve, and the floor around the base. A dry paper towel pressed against each fitting shows moisture your eye will miss.
- 12
Record the maintenance date
Write the date somewhere you will find it — on the tank itself, in your home records, or in Sentinel Home. The value of yearly maintenance depends entirely on knowing when you last did it.
Never restore power to an electric water heater until the tank is completely full. Dry firing an element can destroy it in seconds and is one of the most common self-inflicted water heater failures.
Ready to take the next step?
Sentinel keeps a short, considered list of options for this exact problem — with what each one is for, and when you probably don't need it.
Buying nothing is a valid outcome. Many of these steps cost nothing at all.
Printable field guide
Working next to the tank is easier with a page in your hand than a phone in your pocket. This one-page checklist covers the same order of operations, with space to note your next service date.
Download Printable Water Heater Flush Checklist (PDF)When to call a professional
Flushing is homeowner work. The situations below are not, and a plumber is the cheaper path once any of them appear.
- Water is pooling at the base of the tank, or the floor stays damp. A leaking tank is replaced, not repaired.
- The drain valve will not close, or it drips after you shut it.
- The temperature and pressure relief valve is weeping, or discharging on its own.
- You smell gas, or the burner will not relight after the flush.
- Discharge stays rust-colored after several minutes of clear cold water going in.
- The tank is over 10 years old and has never been flushed.
- The anode rod needs replacement and the port is seized or has no overhead clearance.
Anything involving the gas valve, the burner assembly, the flue, or venting belongs to a licensed professional. Combustion appliances produce carbon monoxide when they run improperly, and that is not a category to troubleshoot on your own.
Sentinel Tip
While the tank is drained is the ideal moment to check the anode rod — the sacrificial metal rod that corrodes so your tank does not. On most heaters it is spent between years three and five, and replacing a rod is a fraction of the cost of replacing a tank.
If you do nothing else with this visit, write the date on the side of the heater with a marker. Homeowners who track the date flush on schedule. Homeowners who do not, do not.
A short habit that pays off
- Flush the tank and note the date.
- Look at the anode rod every three years, sooner with hard water.
- Test the temperature and pressure relief valve per the manufacturer's instructions.
- Confirm the thermostat is near 120°F — hot enough for the home, gentler on the tank.
- Glance at the floor and pan around the base every time you pass it.
Keep this in your home's record
Sentinel Home holds the details of each system in one place — equipment information, manuals, maintenance history, and what to check next season — so the next time this comes up, the answer is already there.
Sentinel Home is preparing for launch. Early access is free to join.
If you have a tankless heater
Tankless units heat on demand and have no reservoir, so there is nothing to drain. Scale instead builds inside the heat exchanger, and the maintenance task is descaling: isolating the unit at its service valves, then circulating a descaling solution through it with a small pump for 30 to 60 minutes.
The purpose is the same — remove mineral buildup before it costs you efficiency and lifespan. The method is different, and skipping it on a tankless unit will eventually show up as lukewarm water and error codes.
Frequently asked questions
How often should I flush my water heater?
Once a year is the common recommendation for a tank water heater. Homes with hard water or well water often benefit from every six months, while homes with soft municipal water and a newer tank may be fine at 12 to 18 months.
How long does it take to flush a water heater?
Plan on 30 to 60 minutes for most tanks. Cooling the water adds waiting time, and a heavily sedimented tank can take longer because the drain valve clogs and needs to be cleared.
Do I have to turn off the water heater before flushing it?
Yes. Turn off power at the breaker for an electric heater, or set a gas heater to its pilot or vacation setting. Draining a tank while the heating element is energized can destroy the element in seconds.
Why does dirty or rusty water come out when I flush?
Sediment is mostly minerals that settle out of the water as it heats. A cloudy or sandy discharge is normal at the start. Water that stays rust-colored after several minutes points to corrosion inside the tank, which is worth having looked at.
Can flushing a water heater cause a leak?
It can reveal one. Older plastic drain valves sometimes fail to reseal after being opened, and a tank already thinned by corrosion can begin weeping. That is a reason to know where your shutoff is, not a reason to skip maintenance.
Should I flush a tankless water heater the same way?
No. Tankless units have no tank to drain. They are descaled by circulating a descaling solution through the heat exchanger with a small pump, usually every 12 months or per the manufacturer's interval.
Is it too late to flush an older water heater that has never been flushed?
Sometimes. On a tank over roughly 10 years old that has never been serviced, sediment can be holding back a weak spot. Many plumbers will still flush it, but the sensible approach is to have it inspected first and to be prepared for a replacement conversation.
What does the rumbling or popping sound mean?
It is usually water trapped under a layer of sediment, boiling and escaping. It means the burner is working harder than it should to heat through that layer, which raises energy use and stresses the tank bottom.
Do I need to drain the whole tank?
Not always. A partial drain and flush until the water runs clear removes most loose sediment. A full drain is more thorough and is the right choice when the tank has not been serviced in years.
Why must the tank be full before restoring power?
Electric heating elements are designed to sit in water. Energizing them in an empty or partially filled tank causes dry firing, which burns the element out almost immediately.
Sentinel Homeowner Essentials
Helpful products commonly used by homeowners and professionals.
Homeowners performing this maintenance commonly use the following tools.
Spending $25–$75 today on preventive maintenance can often help homeowners avoid repairs that cost hundreds or even thousands of dollars later. Sentinel Home recommends products that support long-term home protection — not impulse purchases.

Sediment Buster Water Heater Flush & Drain Kit
Helpful if your drain valve is slow or clogged — the wand loosens settled sediment that a plain hose will not carry out.
Chromex Tankless Water Heater Descaling Solution
Recommended when you have a tankless unit, which is descaled with a pump and solution rather than drained.
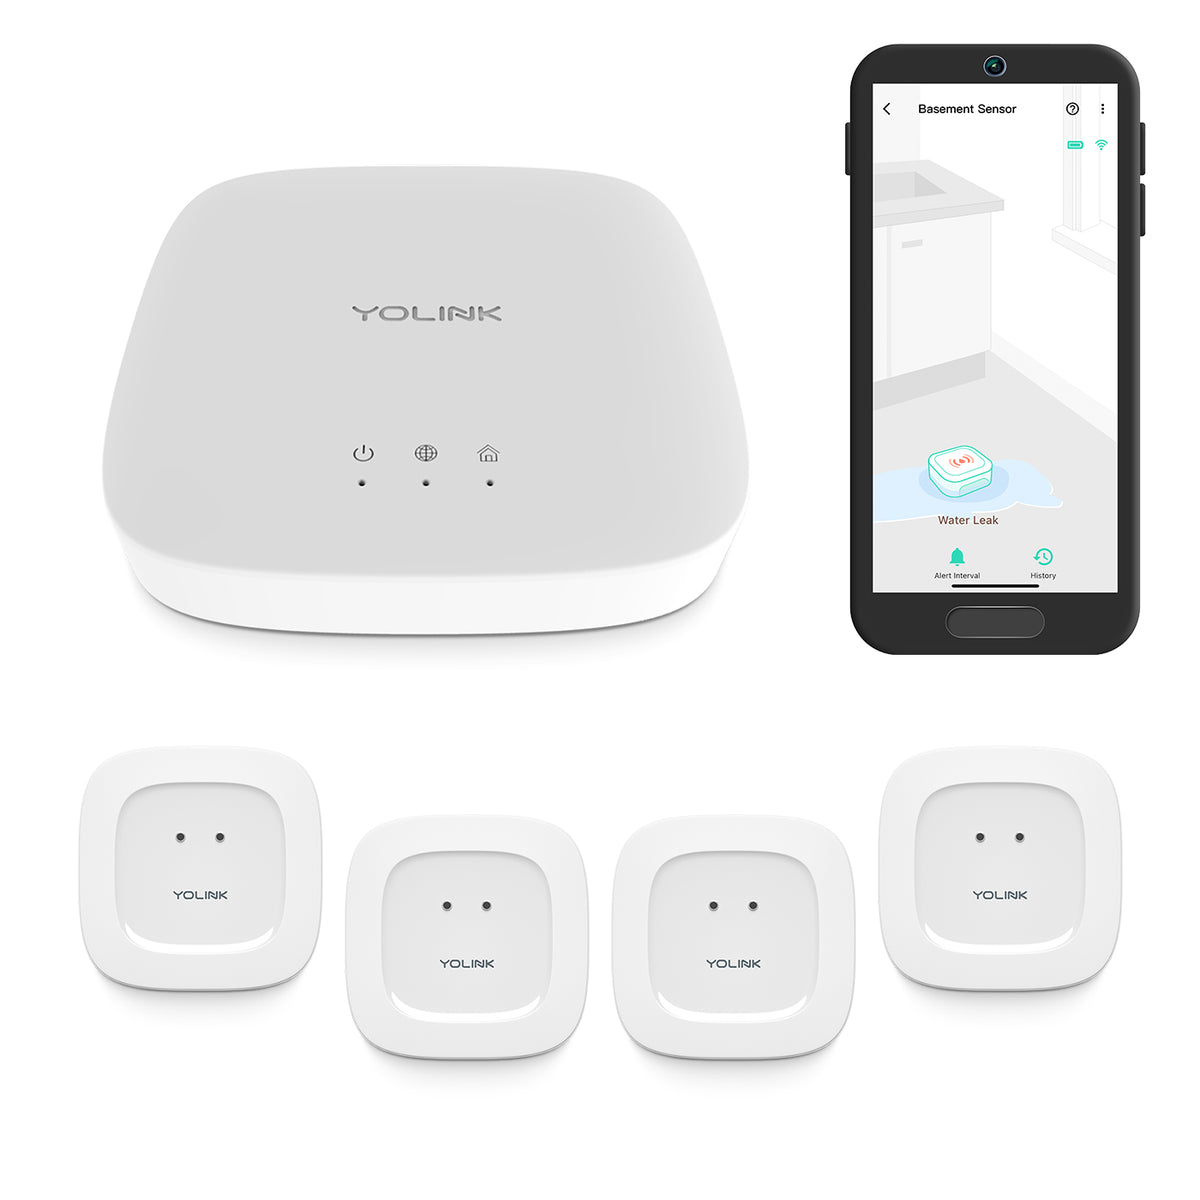
YoLink Smart Water Leak Sensor
Useful placed at the base of the tank, where a slow leak is often discovered long after it starts.

Corro-Protec Powered Anode Rod for Water Heaters
Professionals commonly replace or upgrade the anode rod during a flush, since it is the part that absorbs corrosion instead of the tank.

Camco Water Heater Drain Pan with Drain Fitting
Helpful when the heater sits above finished space and a pan with a drain line can route water away from flooring.
If you're looking for the tools, parts, or maintenance products mentioned in this guide, visit the Sentinel Solutions Center. We only recommend products that we believe are genuinely helpful for homeowners and professionals.
Sentinel guidance is written in-house and grounded in public-safety and government technical references.
Not sure whether your tank is due for a flush?
Sentinel AI looks at your specific water heater — its age, fuel type, water conditions, and maintenance history — and tells you what is worth doing next.
- Know when your tank was last flushed
- Understand whether sediment noise is normal or early failure
- See what an anode rod replacement would involve on your model
- Get a maintenance date recorded so you are not guessing next year
Sentinel AI launches with the Sentinel Home app. Join the waitlist to be part of the first group.
Smart Capture
Record equipment details in seconds.
Asset Vault
Every system, manual, and warranty in one place.
Repair Guide
Understand the problem before you call anyone.
Maintenance Reminders
Well-timed prompts for seasonal work.
Replacement Forecast
See what is coming before it fails.
Home Health Score
One number for the state of your home.